Garrattfan's Modelrailroading Pages

NS 8600 class
Final assembly

Final assembly comprises more than gluing the big parts together. Of course that is part it but then there is a host of small assembly jobs to done like
Well follow along. The project is now rapidly nearing completion.
|
|
Well, although I stated that final assembly does not only consist of gluing the big parts together it is certainly an all important first step.
No I am not building a double decker! The stirrer sticks and the band hold the running board and the cab together while the epoxy sets. |
|
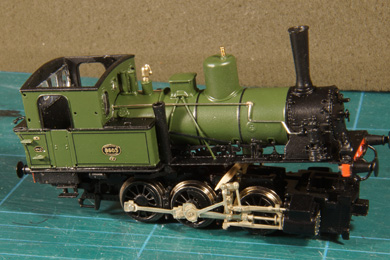
On its wheels for the first time as a one-piece-loco |
|
NumberingNumbering a loco is usually a matter of careful consideration. Sometimes you know the loco's number in advance, maybe because there is only one example or because you build a specific model and the differences within a class are quite obvious. On the other side of the spectrum you have pretty uniform classes where the choice of a number is less critical. Then the builder can more freely choose a number to his liking in the concluding stages of the project. I have completed six models so far, and this is how they came to be numbered
The same reasoning dictates that my NS 8600 would carry number 8607. But the class only ever had six members. 8607 did exist but it was an entirely different locomotive. Now what? Defy the reality and number the loco 8607 anyhow? It has been done in the preservation age with new built, reconstructed or imported locomotives which had no original numbers is their class. Or simply choose one of the real six? |
|
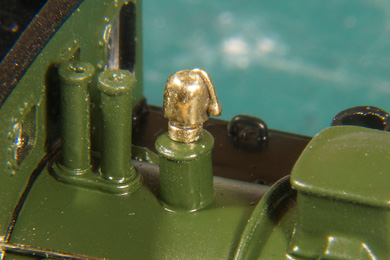
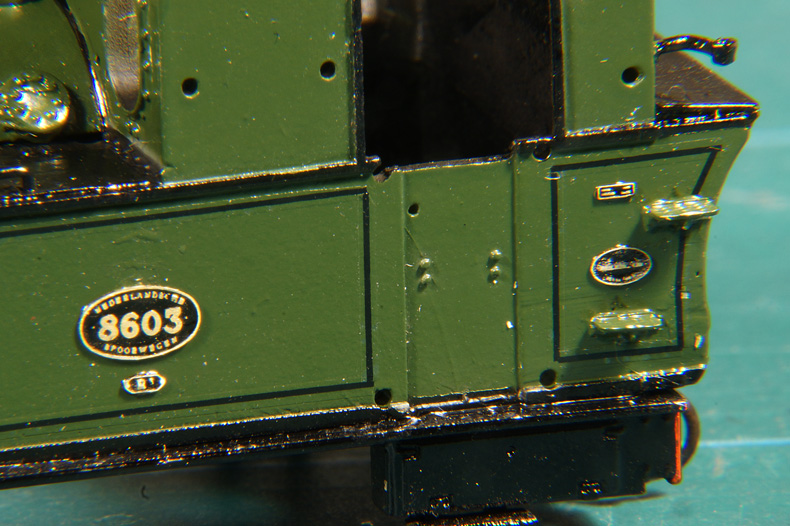
| Then, unwittingly, a friend came to the rescue. He asked me about locomotive 3806, a member of the NS 3700 class. A relative of his had worked on this loco in the 1920s and he turned up a photo of the loco and asked if I could produce some more facts about the loco. So I delved into the history of the 3806 and answered his question. Then I turned my attention again to the still anonymous 8600 and it occurred to me that 3806 and 8603 were number anagrams. That concluded the matter. This loco is numbered a little bit in commemoration of this loco driver. |
The driver (left) is the relative of my friend |
| While studying how I could best place the numbers on the buffer beam it dawned on me that the buffer was still black so I quickly returned to the paint booth before numbering could start in earnest. | |
|
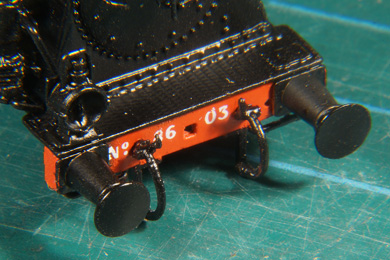
Once the buffer beams were red I puzzled over how to place the numbers as very little room was left. I had no prototype photo clearly showing the number. The usual arrangement is "No" left of the coupling hook and the four digits between the coupling hook and the right hand air hose. But there was simply not enough room. So I more or less improvised. Maybe I should have added only one air hose and maybe the air hose should have been closer to the buffers. But what is done is done. I can live with this.
I don't think it is a very neat job. The numbers came from rubbing transfers of Philotrain. I detest rubbing transfers because they easily break and you cannot correct them once they sit in place. I prefer water slide transfers but I did not have those in the required size. The numbers supplied with the kit were water slide transfers but they were about 30% larger than the Philotrain transfers. Well, there is no such thing as perfection.
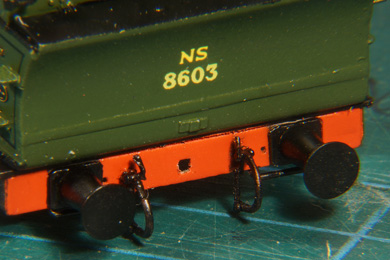
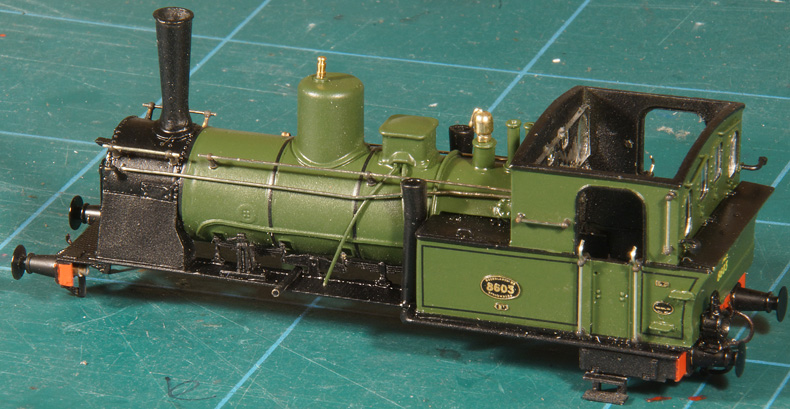
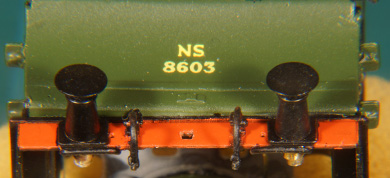
On the rear of the loco I had space enough so I used the number supplied with the kit and added the letters NS to it from the Philotrain sheet. |
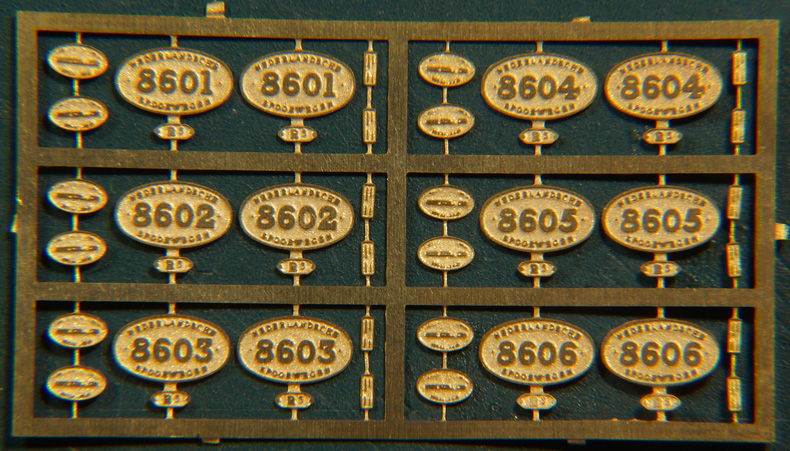
The number etch is degreased and sprayed with Philotrain black. This paint can adhere to brass directly without a primer. I always use a primer as a precaution, but in this case I did not. After the paint has hardened I carefully sand away the black from the surface of the etch. This way the high parts are revealed in brass against a black background. If there would be a grey primer a slim grey line would appear and I wanted to avoid that. |
|
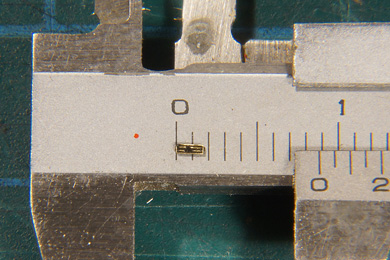 |
The smallest etch plate |
All four number plates in place. The paint work looks terrible but believe be, it is under strong magnification on this photo. It will be fine after removing all the dust and with a dull coat. |
|
 |
I forgot to spray the cylinders and quickly corrected that. I masked the cylinder covers with MicroScale's MicroMask, a masking fluid.
The wood does not scratch the metal surface. Worked well in this case.
|
 |
Cylinders in place |
Then all black parts were sprayed with Philotrain semi-matt clear coat. Great stuff! |
|
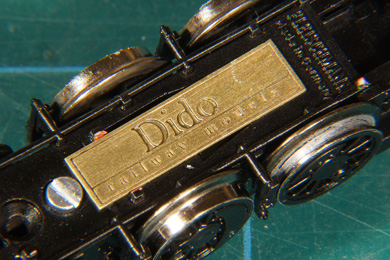 |
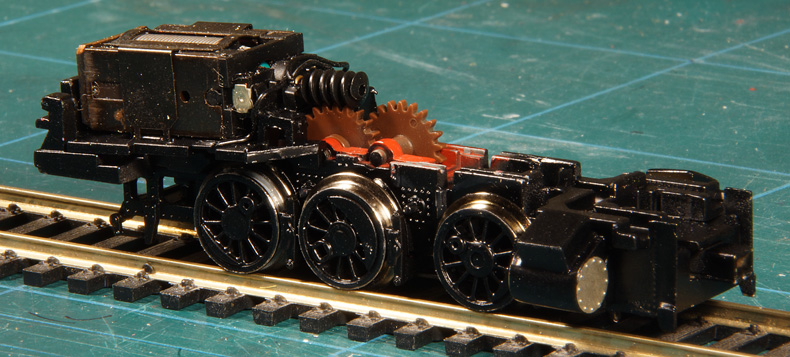
Vanity of vanities; all is vanity. The etch plates of the kit had the brand name on them. I cut it out tweaked it to fit under the model and polished it. Later I found that it interfered with the lowest gear on the axle. I removed the plate, glued two shims of 0.75 mm styrene in place and replaced the name plate. Problem solved. |
Motor installed and test. No specific problems. |
|
 |
While test fitting the motion I found that the right cylinder would not allow the piston rod to go back and forth all the way. Now what? The cylinder is already glued with epoxy and it would take considerable force to remove it, being highly unlikely it would come away undamaged. |
 |
After some deliberation I took my drill-mill bit and used it to slowly scrape out the offending metal stub inside the cylinder. I managed to do that without damage to the paint of the model. I was pleased although cost me well over half an hour to rid the problem. |
 |
Placing the motion needs a structured step-by-step approach with testing the free running of the wheels after every step.
|
If any problem occurs, the loco does not run freely, falters, juts or whatever, solve it. Greasing won't help. After another half hour the loco ran satisfactorily. I did some test running and then, and only then, greased the locomotive's axles and gears. The frame is now essentially complete. |
|
 |
The superstructure was meticulously inspected for flaws and blemishes in the paint coat and corrected with a brush where necessary. Once I was satisfied I let the patches dry 24 hours and gave the superstructure a Philotrain semi-dull clear coat. When that had hardened for a few hours the windows were put in place. |
 |
 |
| The windows are glued with MicroScale's KristalKlear, which over time becomes what the name promises: crystal clear! Because it does, it is also an excellent filler for those place where the windows do not fully fill their frames. | |
|
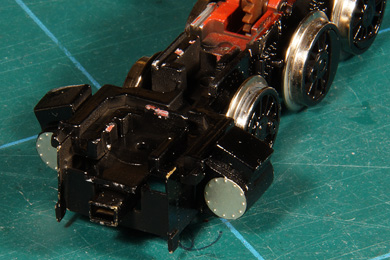
The buffers were glued into place, the convex one on the left side, the flat one on the right side. The holes in the buffer beam were first reamed accurately to fit. Then a thin layer of epoxy was applied to the shaft of the buffer carefully avoiding glue getting into the spring mechanism. The buffer is placed removing any excess glue on the buffer beam. Finally an ample blob of epoxy is placed on the buffer shaft behind the buffer beam. I worked on the loco while it was positioned in a jar wrapped in foam both to protect the model as well as to keep it vertical. The latter is important to keep the buffers stand vertical directly after placement so they do not sag while the glue sets. |
 |
Done! |
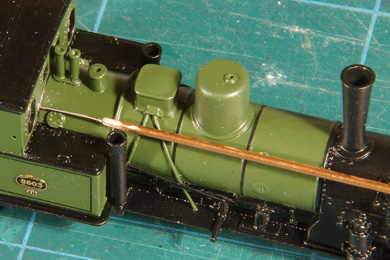 |
The glazing had obstructed a hole I had drilled long before painting to take up a tube. It could not be drilled in a conventional way so I reverted to a trick. I took the narrowest brass tube I had available and put a 0.5 mm drill in it with a bit of epoxy. I pinched the brass a tad with a pair of pliers making sure the drill sat straight and more or less in the middle. With this elongated drill I could get to the hole and re-drill it. |
 |
Next the tube was glued in place. |
 |
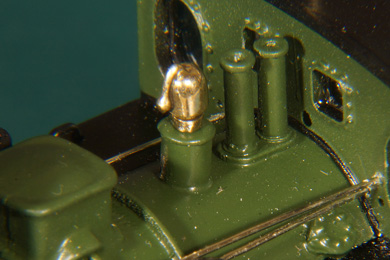
Whistle (?) |
 |
Bell |
Rear buffers glued with same procedure as the front buffers. And don't forget: convex left, flat right
|
 |
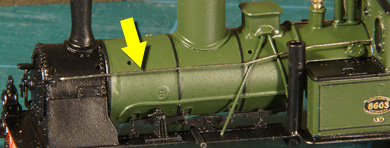 |
Long pipe on the fireman's side added |
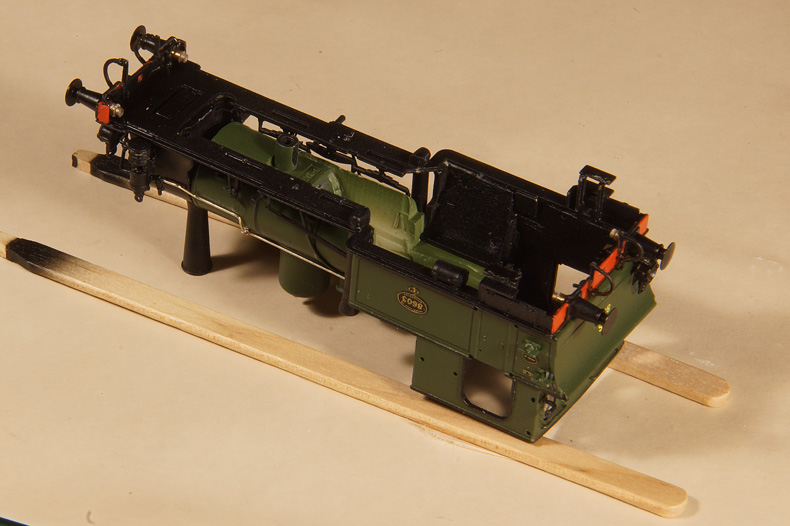
As an aside, when I work with the model upside down I place it on two coffee stirrer sticks glued on a sheet of paper. It gives a stable underground, otherwise the model has a tendency to roll over due to its roof profile. |
|
 |
Now I tried to fit the superstructure on the frame and much to my surprise it didn't fit anymore. The only thing I had changed since the last time was adding the buffers on the rear so the culprits were quickly found. |
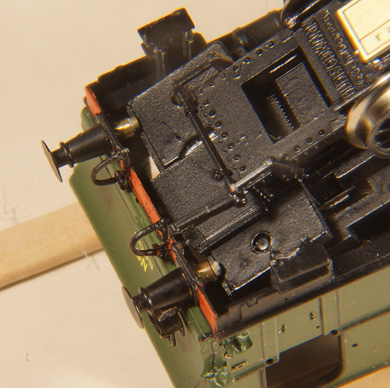 |
Yes, they interfere with the frame. Moreover they need extra space when compressed (sprung buffers, remember). This needs a serious amount of milling so late in the assembly stage. Of course I was not too happy with this, especially because milling away should be done very cautiously as on the top side are the support into which the lips of the superstructure slot. I can't make them too thin. I must think about this.... |
 |
While thinking I worked on gluing the handrail knobs. The handrails are cut roughly to (over)size. Once the glue of the knobs had set I made them exactly to size. I glued the handrails to the knobs with CA (cyanoacrylate or "superglue"), one of only two instances with this model that I used CA. The reason for that is its capillary action: bring a droplet of glue to the handrail knob with a pin and it creeps into the space between the knob and the handrail. Done!
|
 |
 |
In the mean time I had worked out how I could mill the frame, how deep and how far, and I duly did that.
|
|
 |
 |
| I also had to remove a bit of plastic. All recoloured parts were blackened with a waterproof felt pen. | |
 |
Coupler hook in place. Don't forget you are working upside down so the hook opening should be down! The little bar to hold the spring is secured with a bit of CA. |
 |
 |
 |
All brass parts are conserved in a gloss clear coat. |
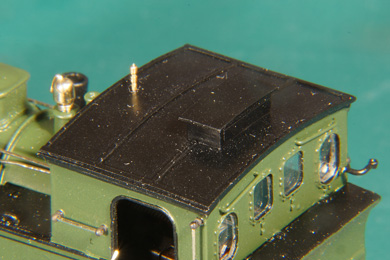 |
The roof is glued to the cab |
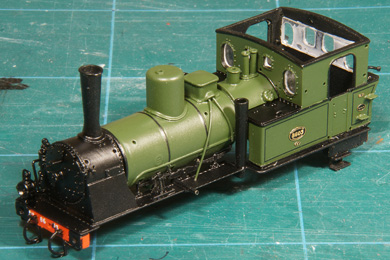
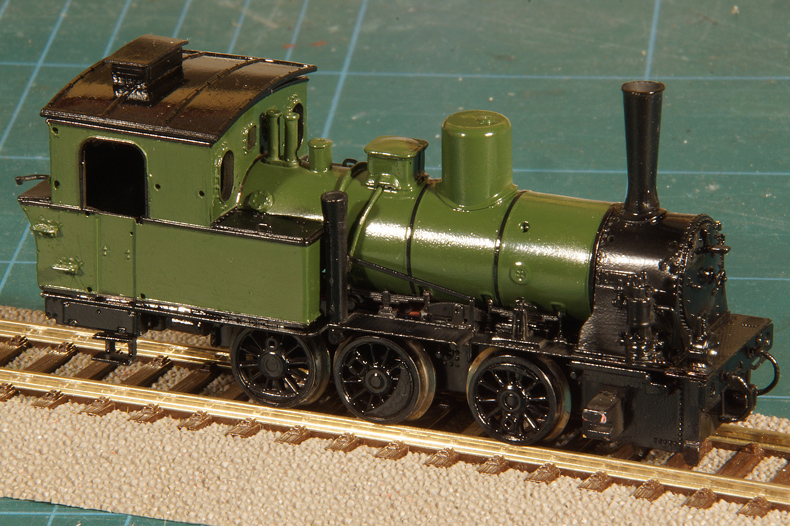
Done! The superstructure is ready, the frame is ready, the two are joined and then screwed together giving the completed loco
|
|
 |
|


Sign my
GuestBook